How to Make a Gmod Player Model Easy
Introduction
Hello there fellas, I'm assuming that you want to know on how to create and import a custom model to Garry's mod and use it as a playermodel using Blender?
If so, then great, you've come to the right place.
A great thread[facepunch.com] with some helpful tips! I got some stuff from this thread, like the QC File!
Disclaimer: I won't to do this perfectly. Because of two reasons. First of all I suck at rigging (we'll be discussing rigging later) and for the sake of tutorial it's not necessary. I will also assume that you have a basic knowledge of Blender.
first of all we need some software and resources to help us along during the process!
VTF Edit[nemesis.thewavelength.net], it's used for making VMT's and managing VTF files.
Crowbar, and amazing .mdl decompiler and compiler. Great tool!
Notepad++[notepad-plus-plus.org], essentially an upgraded notepad for coding! You don't need this, although I do heavily recommend having it, it makes things so much easier.
Blender 2.77[www.blender.org], which can also be downloaded trough Steam. It's the most fundamental tool for this guide, as it's the one we'll be inside of the most. You better learn to use your way around it!
Source Tool[steamreview.org], a software used to import and export SMD and DMX formats.
Paint Net[www.getpaint.net], we also need the VTF plugin.[nemesis.thewavelength.net] Here we will be making our VTF's.
GFCScape[nemesis.thewavelength.net] is great, but not necessary. It might come in handy when you need a reference model or something similar. It's great for browsing through native files to the games, as it's an unpacking software.[en.wikipedia.org]
Gmod publishing tool[sourceforge.net] a necessary tool for uploading to the Steam Workshop!
Source SDK, a native software to Source games, it can be downloaded through Steam, Library, Tools. if you don't know on how to donwload.
Garry's mod. Obvious, it's the game. This is very needed for modding to the very same game, so you must have this in order to go along with the guide.
::::::::::::::::::::::::::::::::::::::::::::::::::::::
Sadly the links got removed, so I added spaces to them (a kind person in the comment section came up with the idea). Just remove the spaces, and search on them yourselves through Google. Very sorry.
The Model that I will be using!
http:// -space- www -space- .models-resource -space- .com/psp/hatsunemikuprojectdiva/model/6999/
http:// -space- www -space- .mediafire -space- .com/download/fqclxxr1010gga9/skeleton.rar
Used to rig our model, if chrome won't load this page use windows explorer or another search engine!
These files hold the QC for the custom arms:
https:// -space- www -space- .mediafire -space- .com/folder/8a17grnx2y0q2/ArmsQCFile
We'll be using this model's QC:
http:// -space- www.mediafire -space- .com/download/jraz2b50zqu6nab/hinata.rar
So there are steps that we need to take to do our model import into Gmod successfully.
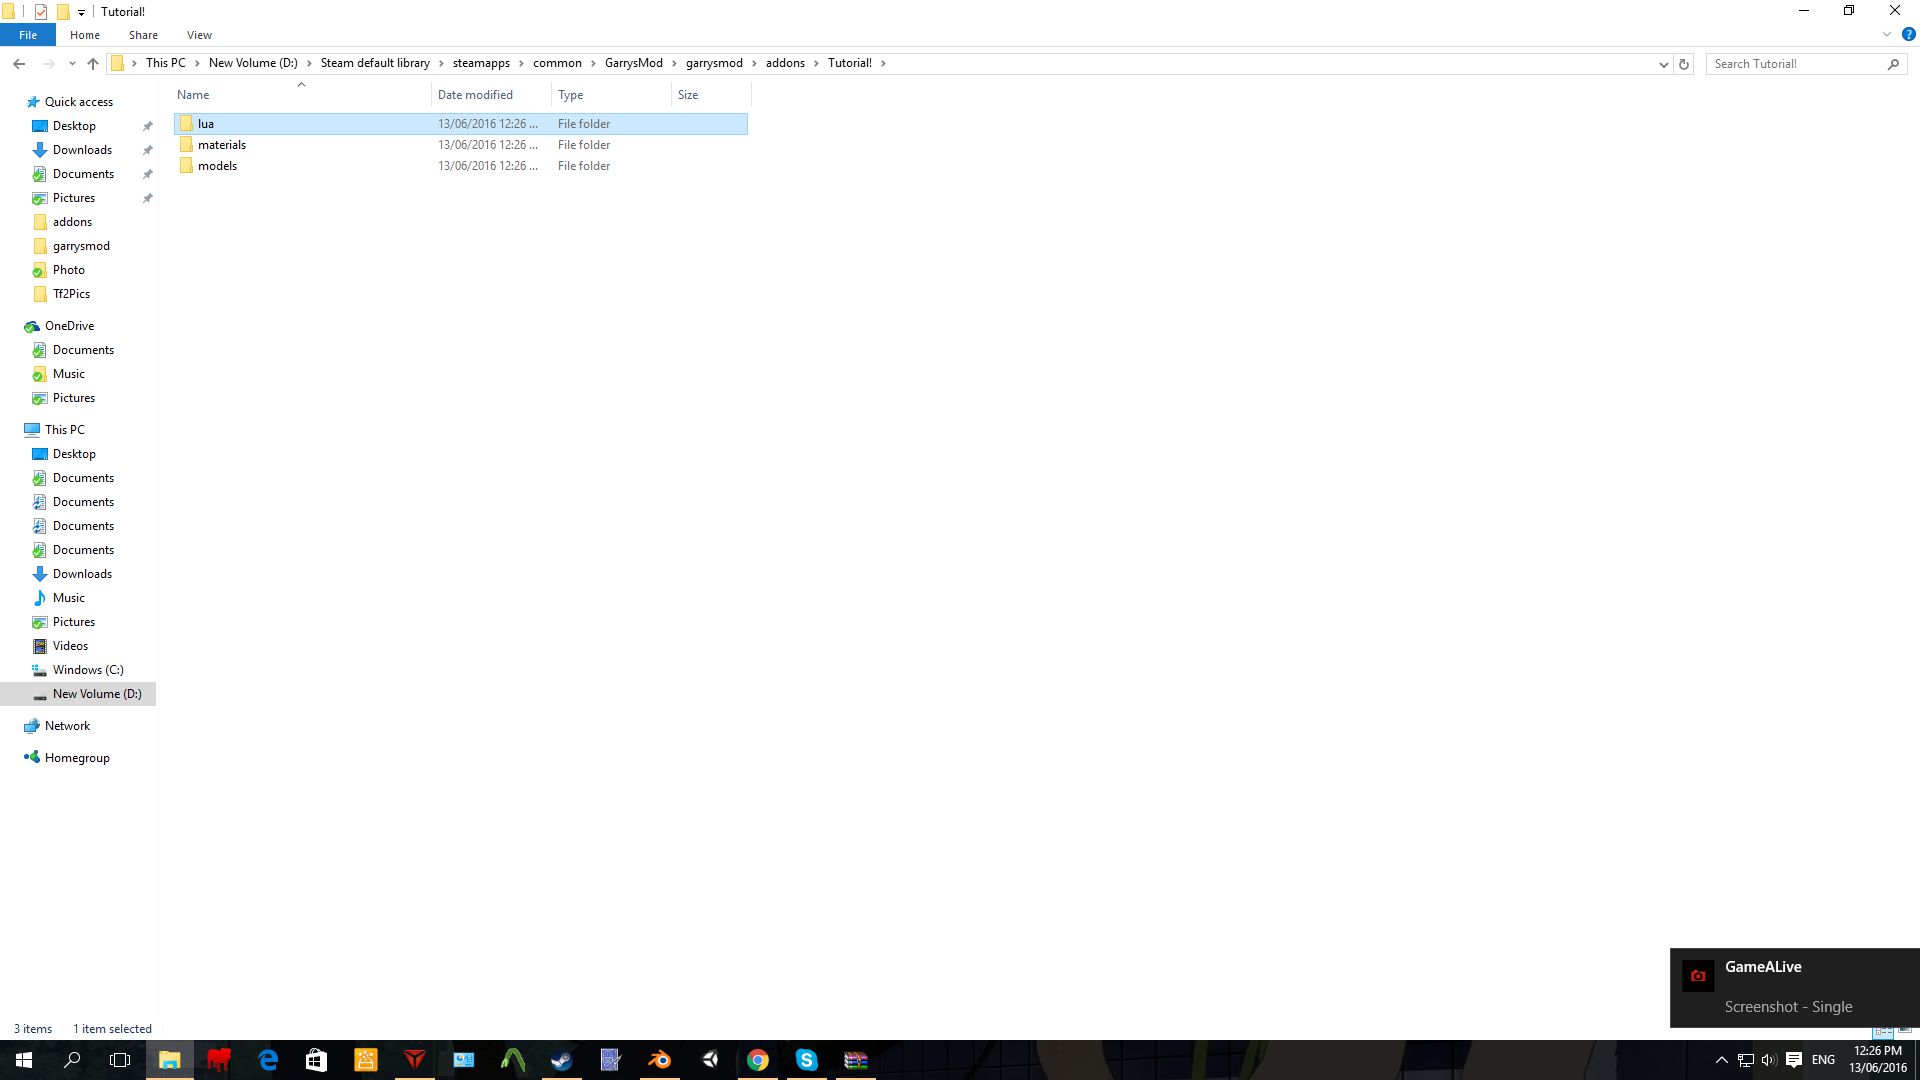
We need to make a folder for our addons where we'll put everything we're planning on importing. It must have three folders in it (lua, materials, models) then also create a folder called "autorun" in the lua folder, I may give an example here:
The things do to!
1. Download the model we're going to rig
2. Rig it with the skeleton
3. Making the textures
4. Setting up the QC
5. QC file compile it using Crowbar (Now we can use our model, but we can't upload it to the workshop as it should be in a GMA file format, correct me if I'm wrong)
6. Make the lua
7. Make it to a .gma file
(optionaly) 8. Upload it to the workshop!
Now, let's get started shall we!
Blender Rigging
Ok, so you want to open Blender and delete all the existing objects in the scene. 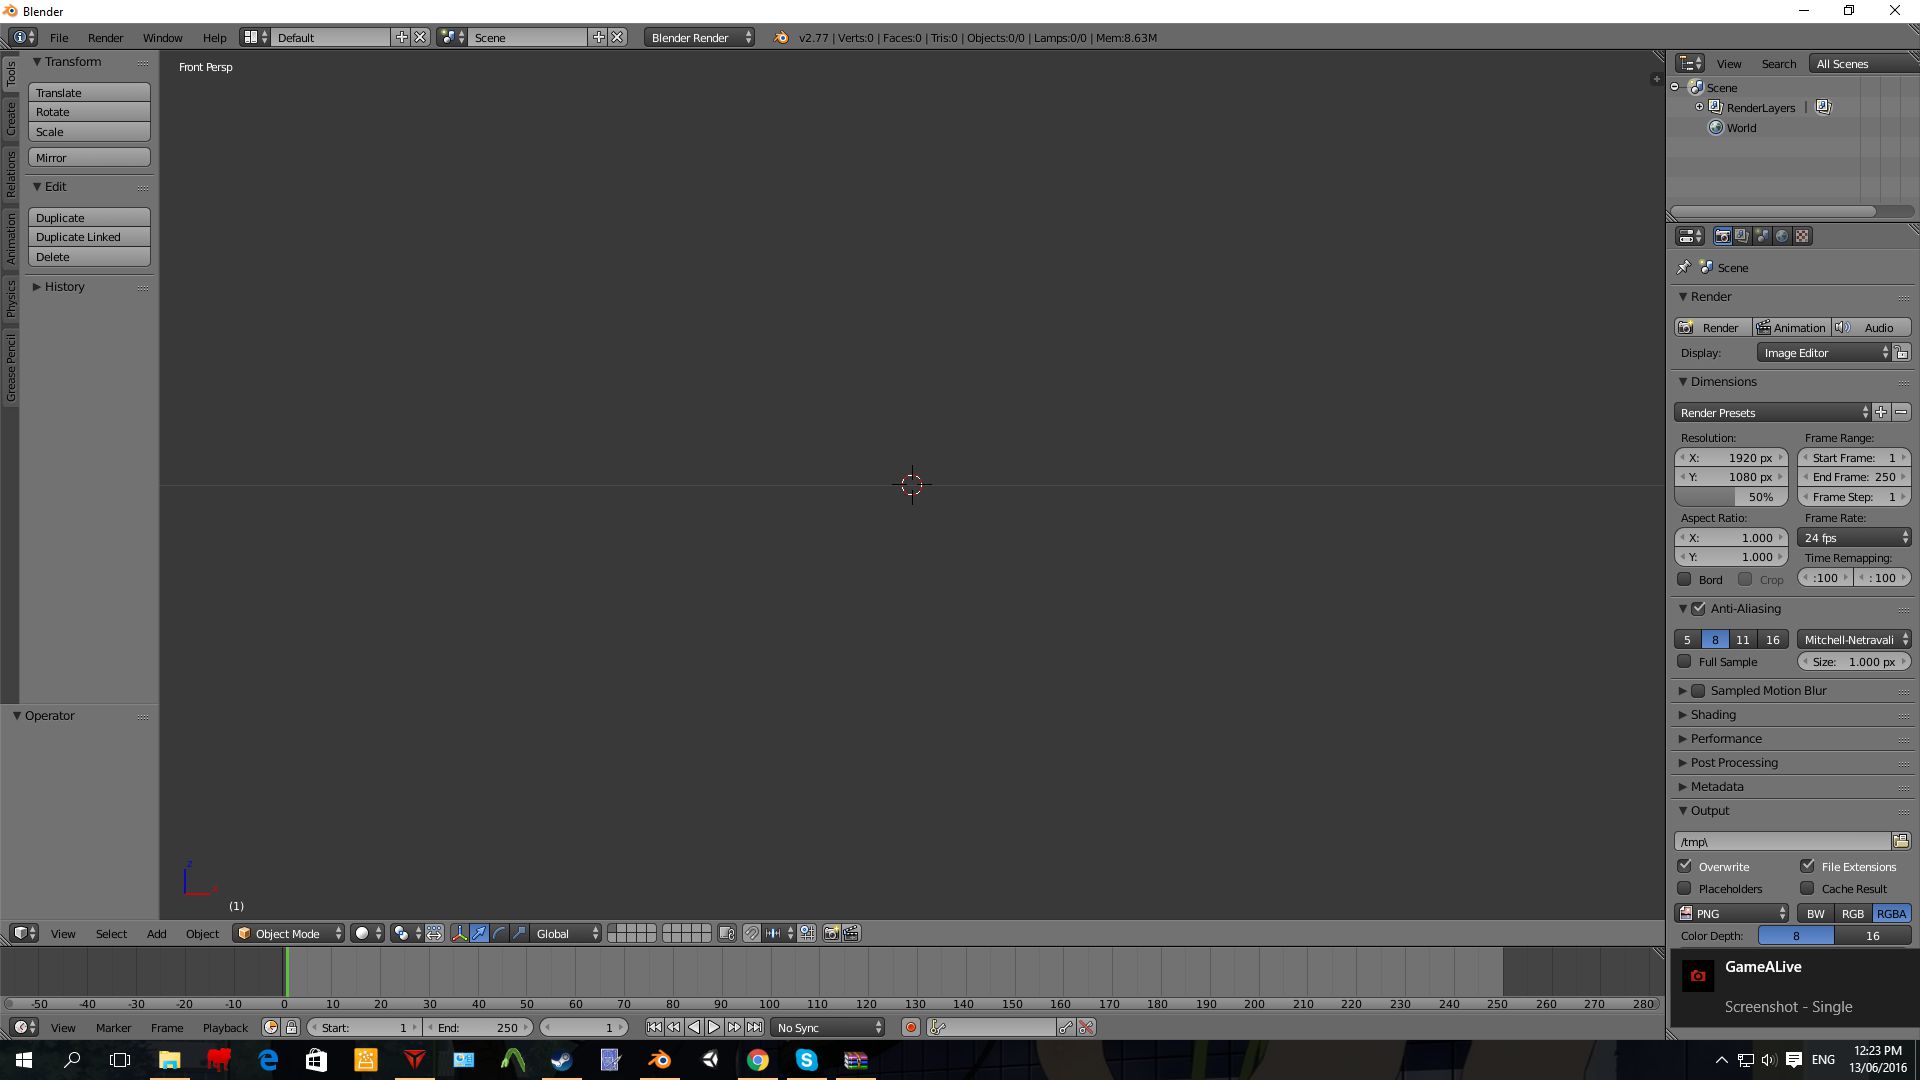
Then you want to import the reference model that we downloaded before, you find it in the folder you put it in!
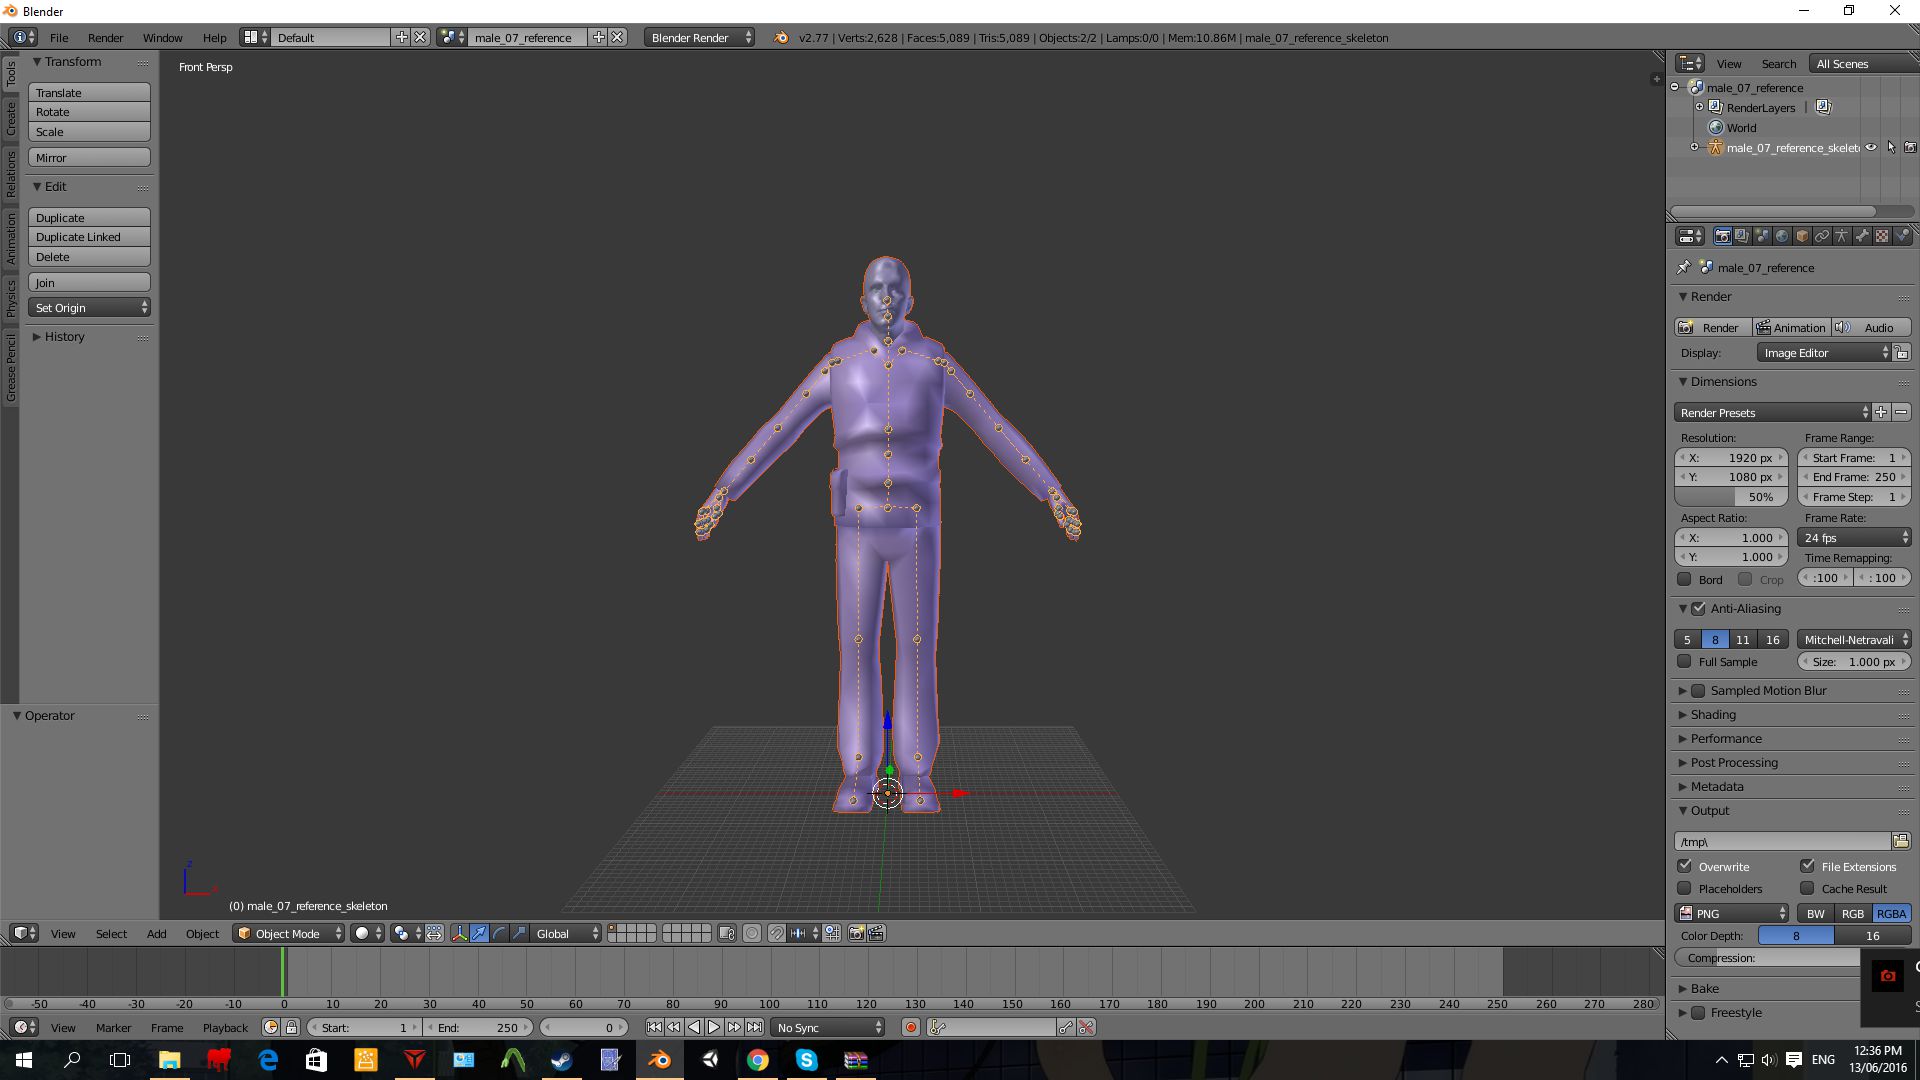
Then you want to delete the mesh of the imported reference model, so there's only the skeleton left. Alternatively, you could keep the reference mesh until you've aligned your own mesh properly (next paragraph).

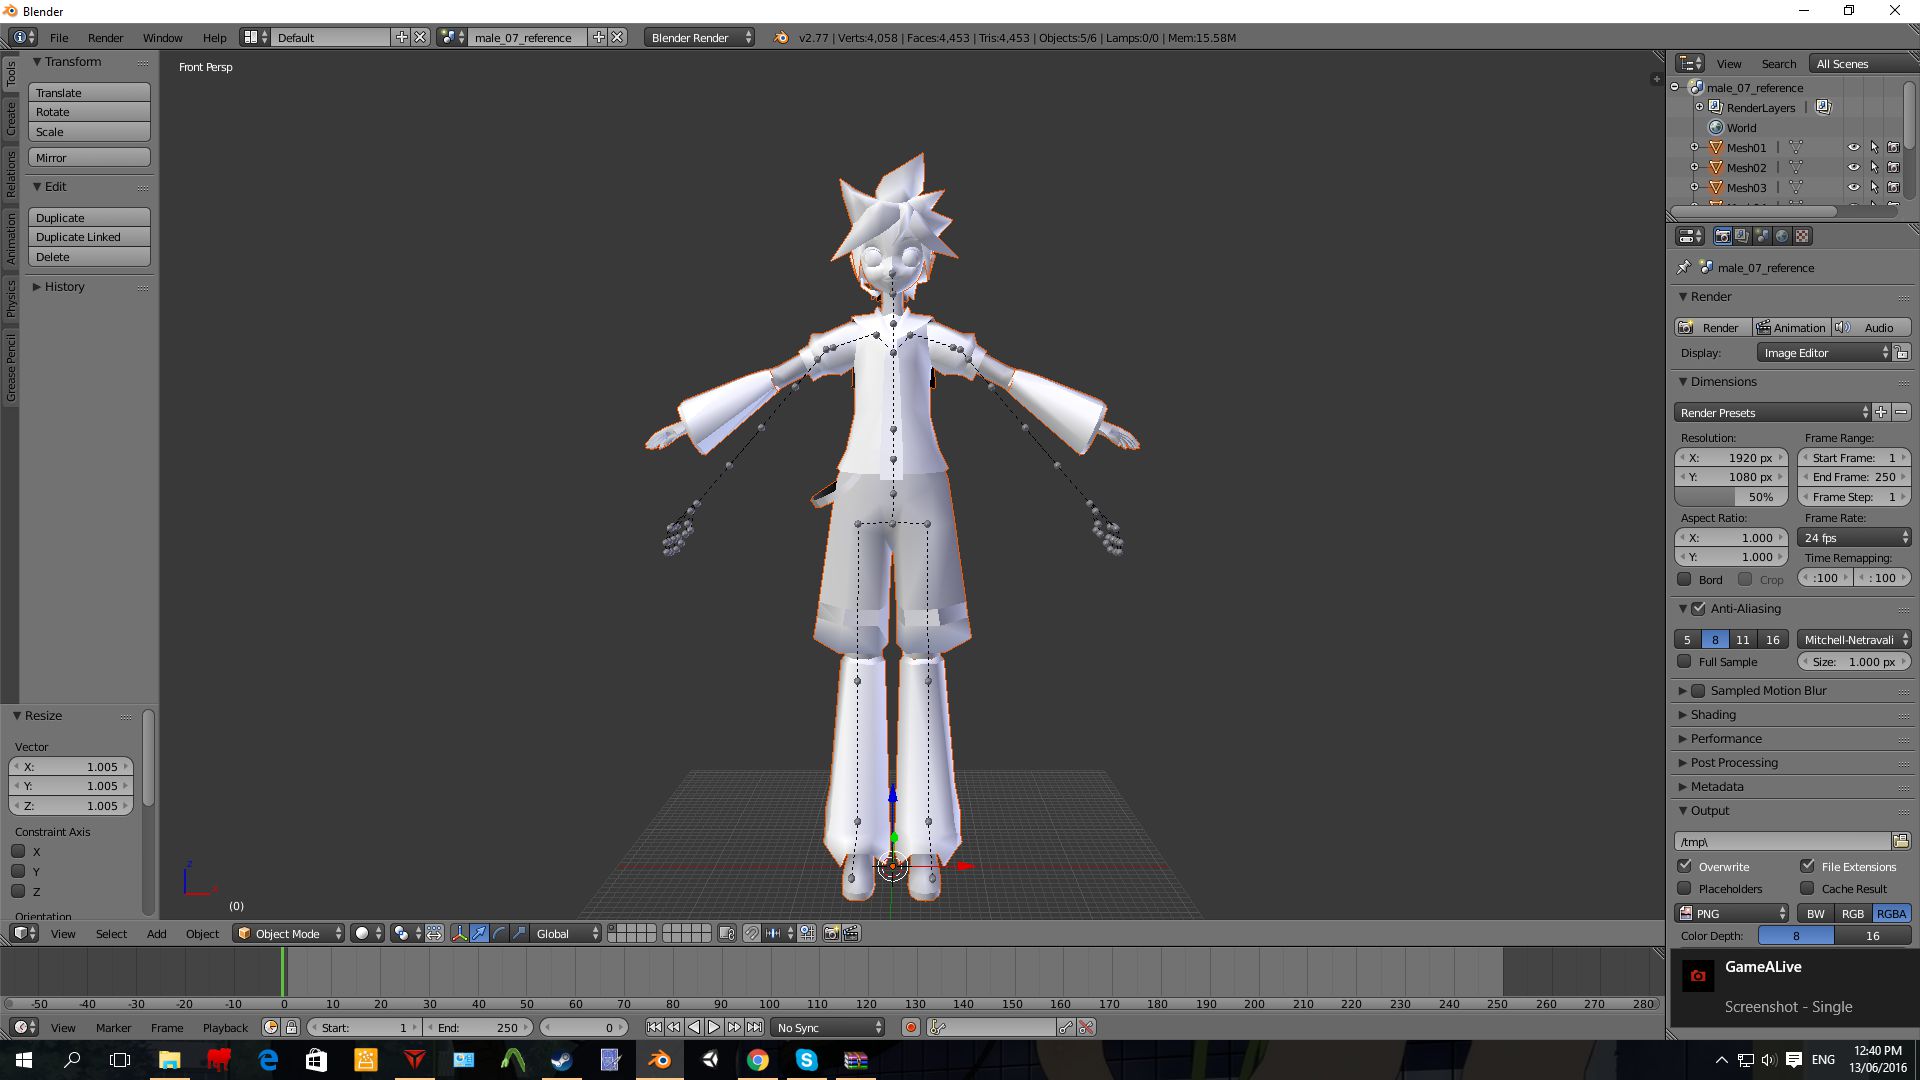
Then import your custom model, I'll be importing my Rin model which I've linked a download to above! Then scale your model to the size of the skeleton so they match. Also your model might come in many pieces, then just make sure one of the pieces is highlighted and the others marked then press "Ctrl" and "J" to make them into one model (Note that keeping things like the head part of the model separate from the rest can sometimes be useful, but unless you feel as if you know what you're doing it's safe to keep to just one model, as that's what I'll be doing in this tutorial).
After that you want to tweak the bones, I won't be showing on how to do that since I assume you've got a basic knowledge of Blender, but you basically grab each bone and align them with how you think they should be with your own model.
After you've tweaked the bones you want to go in to Objectmode and Shift right click your model and then the skeleton, then hold down "Ctrl" and "P" and press "With Automatic Weights" and you should also tweak the model more through "Weight Painting", it's really necessary, otherwise you'll end up with a model that might move its head instead of the arm.
Here's an image on my final model.

Ok, so when you've done it. You want to go to the scene. slide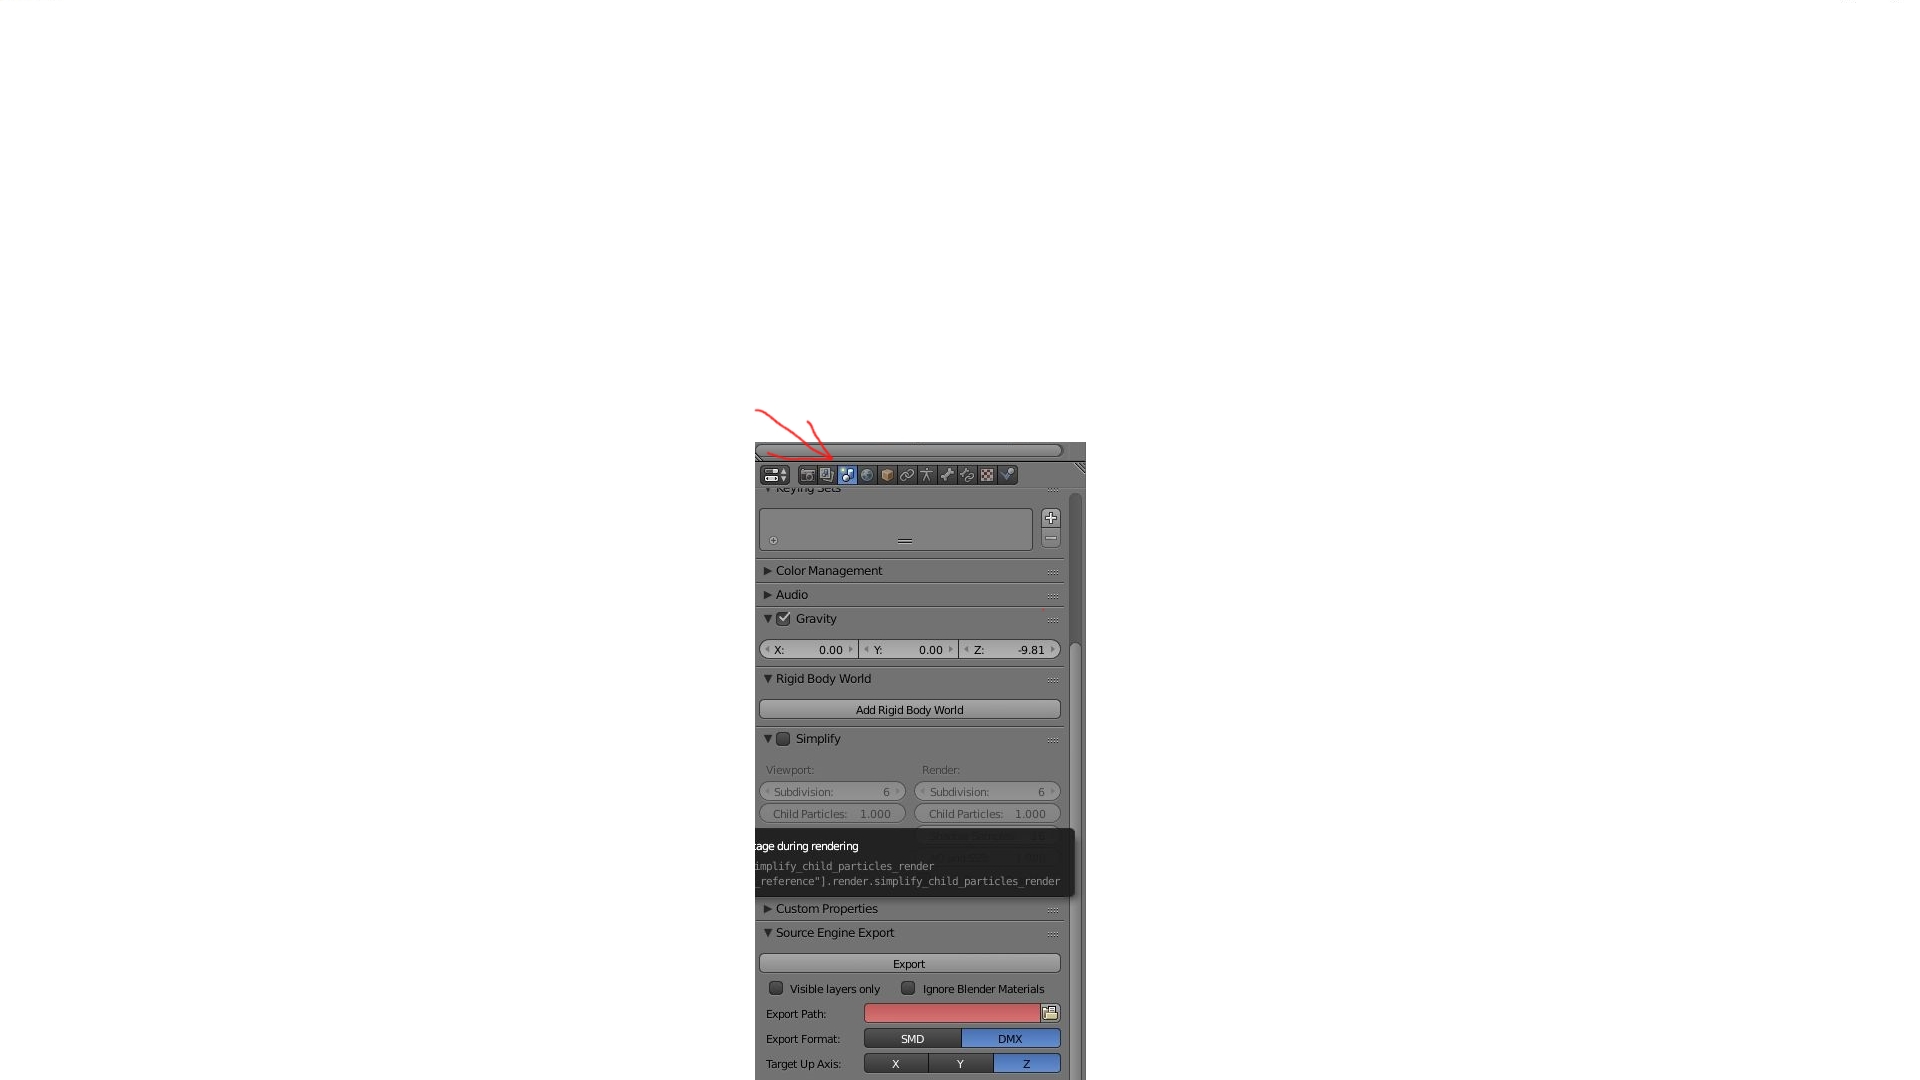
There, if you installed the SMD plugin for Blender correctly, you should see the SMD and DMX export option. Click on SMD, Rename your custom model to something you'll remember (in my case "Rin") then make the target path to your mod folder's model folder, there create a chain of folders, in my case it'll look something like this (<modfolder>/models/player/Rin) and in the folder I call Rin will be the place where I'll be exporting my model. here's an image, don't delete the original model file!
Texture Editing
Ok, there's many ways to do the textures. But I'll be showing my way since it's the only way I can do it.
If you've closed Blender, then reopen it. We need it later. It might as well be open under the whole process.
Ok, I'll assume that you're using a downloaded model with textures. The rar/win file that you downloaded should have the textures in it, right? Find your model's textures and open them all in paint net. Before that however go to your mod's folder, go into materials (must be spelled correctly) make a folder there called "models", then feel free to do a chain of folders there, it should most likely look someting like this (<modfolder>/materials/models/player/Rin).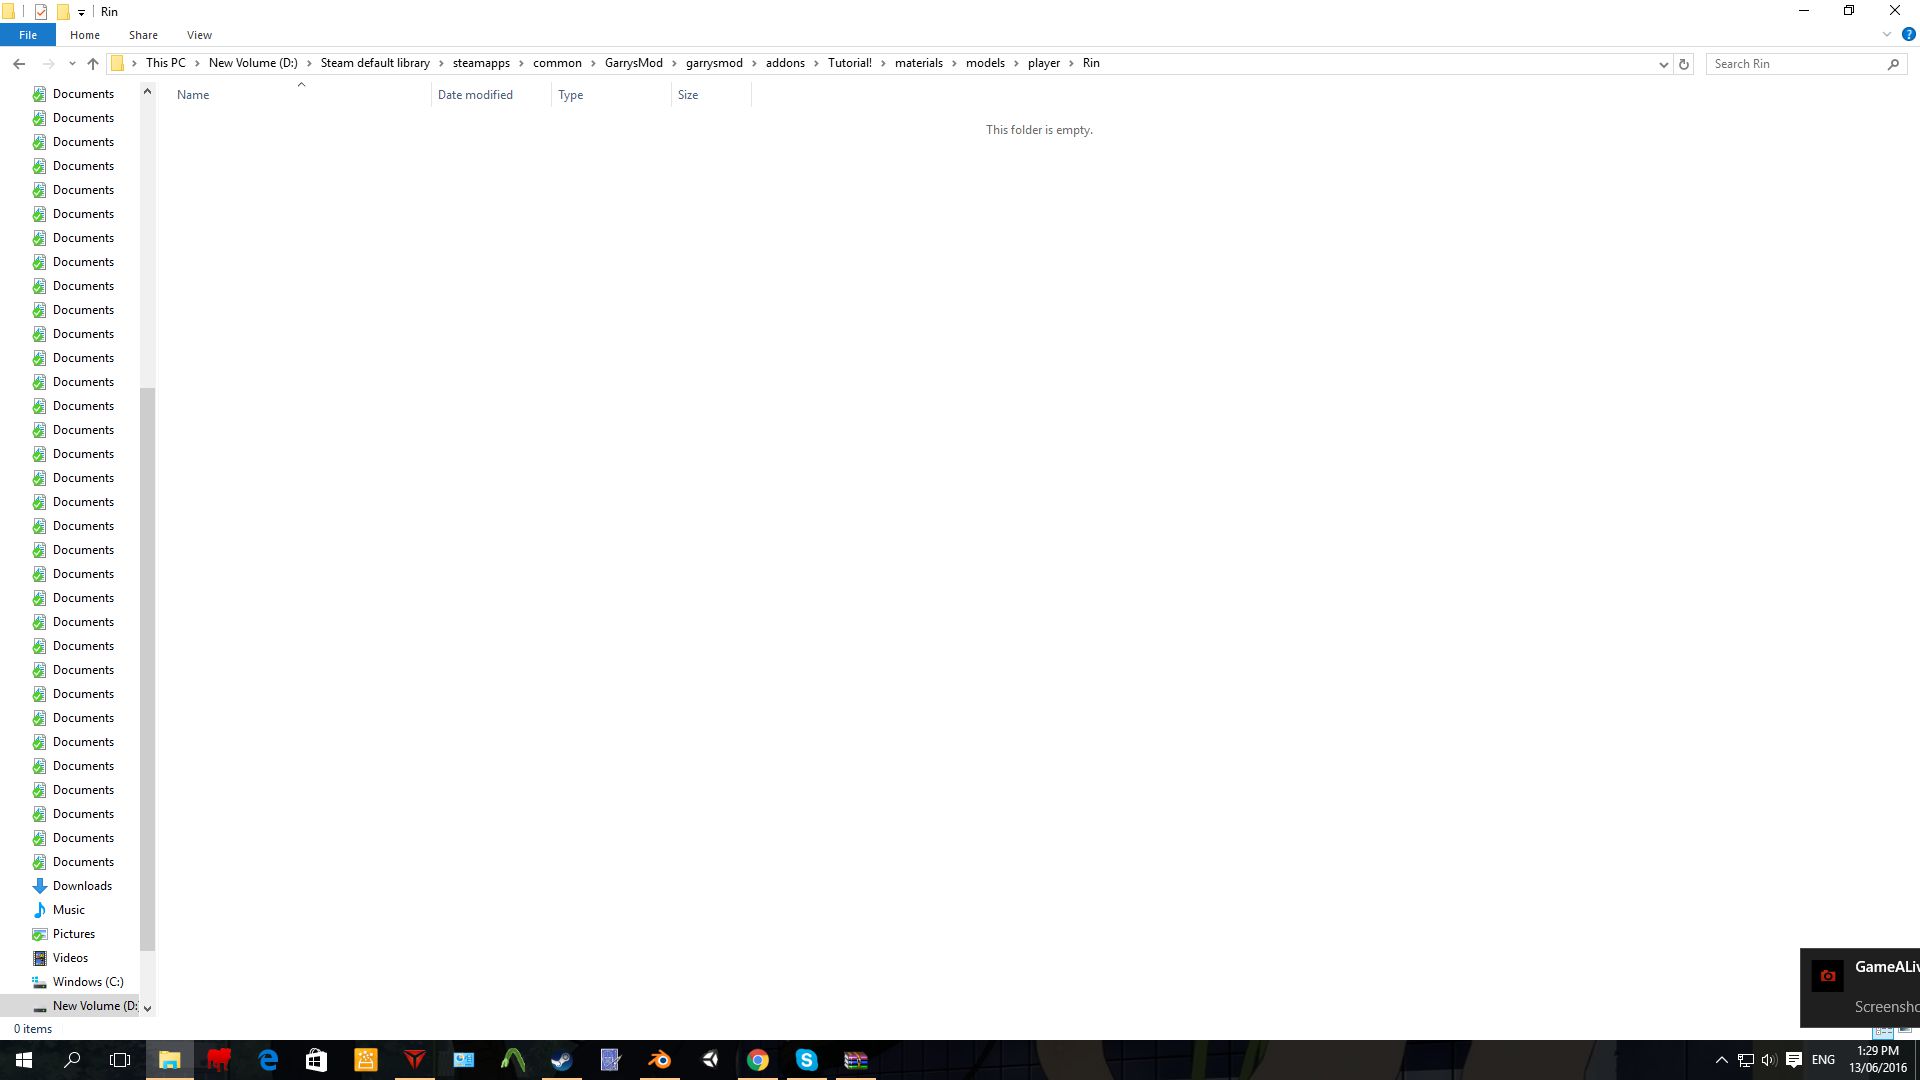
When you've opened paint net and have all of your texture/s in it (most likely in png, jpeg formats), if you downloaded the vtf plugin to paint net you should be able to save them as .vtf formats. Do that into your mod's folder materials folder chain, so for me I'll be saving it in.(<modfolder>/materials/models/player/Rin)
when you're done that, open all of your texture file in VTF Edit and create one vmt file for all of the vtfs. For this we need to have two instance of blender running. Keep the one with the smd running because we might want to edit it and then we can access it quickly!
So, in the other instance of Blender, open your original obj or whatever format you have file. In there go to the "material panel".

there you should see a bunch of materials to your model! Now these materials should have the names of our vmts, go in to each material and see what texture they have on by selecting a material then clicking on the icon next to the material icon, The "Texture Icon".
Now you can see what texture it has, now open that texture in vtf edit (the vtf format of the texture of course) click on tools, create vmt. Then you should be getting a menu that pops up, keep everything as it should be exept one thing, go to the options tab, then click on "LightmappedGeneric" and change it to "VertexlitGeneric". Then you can go ahead and create it. Save it in the same folder as your vtfs with the same name of the material that you were working on. Example, if I have a material file named "hair" with the hair texture for my model, I go to my hairtexture file (vtf format) and create a vmt file names "hair" in the same folder as my vtf are.
We're not done with the textures yet, click on your vmt and make sure it says your path to your vtf file, basing from the modfolder. If you open the vmt you should see a line where it says "basestexture", make sure the file path is correct. For me it would be (models/player/Rin/hair).
The "hair" at the end represents the file not a folder.
Now repeat this process with every material file that you have.
You should be good to go with the textures, make sure everything is correctly spelled. One misspell can really do a lot.
Setting up the QC
A QC file is what defines the model. It's what the decompiler/compiler software read, like Crowbar. So we need to set this up properly. Ok, you remember that "Hinata" reference model that I asked you to get before, the one for the QC file? Yeah, download it if you haven't. Put it in some folder and copy all the files except the "hinata.smd" and paste them in to your folder where you have your SMD model. In my case (<modfolder>/models/player/Rin).
Now open up the QC file in Notepad/Notepad++.
I will assume that you have Notepad++ since I'll be using Notepad++.
I know, it looks pretty hard and advanced. But don't worry, We're just gonna change some stuff.
// Created by Crowbar 0.19.0.0 $modelname "player/Sonic/RealModel/MikuSonic.mdl" $model "SonicMiku" "SonicMiku.smd" $cdmaterials "models\Player\Sonic\"
we only need to care about this part of the code.
yours won't look like that I know, I accidentally changed my original file. You should be having something with Hinata instead of Sonic, if you do then you have done correctly.
ok first change the $modelname to whatever you want, like in my example "Rin.mdl", it just has to end with a .mdl.
then change the $model to your SMD model name, in my case it's "Rin.smd". You have to put the .smd in the end.
then change the $cdmaterials to your material path, but don't write 'material' in the beginning! it includes that automatically, so in my case it would be (models\player\Rin\) Also add a "\" at the end so Crowbar knows that you're referring to a folder and not a file.
Example image:

Making the custom arms (optional)
If you want to have custom arms to your model, you have to create them, it's very easy though.
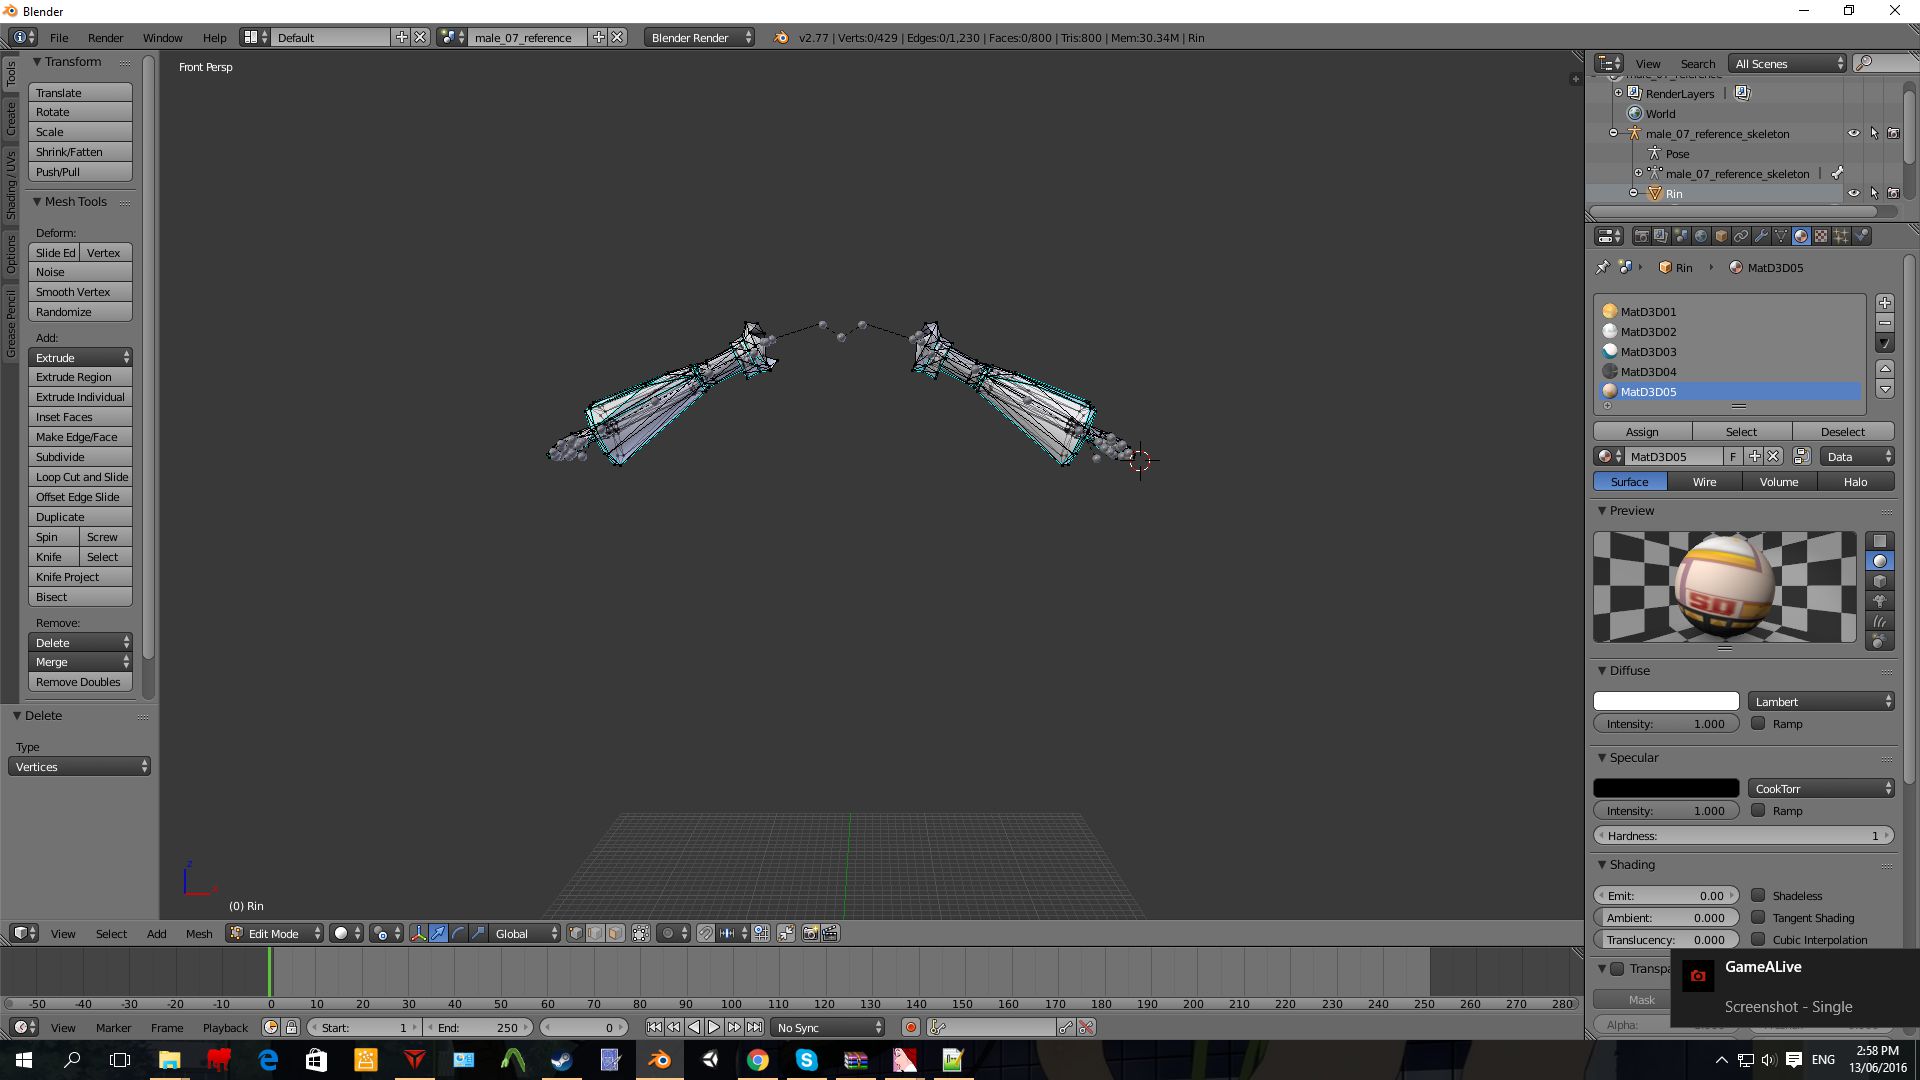
To do that open up Blender, find you SMD file with your custom model and import it. Then it's just to go in to edit mode and delete all unnecessary mesh and bones. Then export it as a SMD called anything, just remember to make it clear that they are the arms.
Here's a picture on how it should look like for me, and you can mimic it. Just remember I'm a sucker at Rigging!
Now, we'll have to make a custom QC for this one, too, first of all though, you should make a folder in the folder with all your SMDs and QCs called "Hands". You can call it what you want, something like "c_arms", you decide.
if you downloaded my custom arms QC before (links in the introduction).
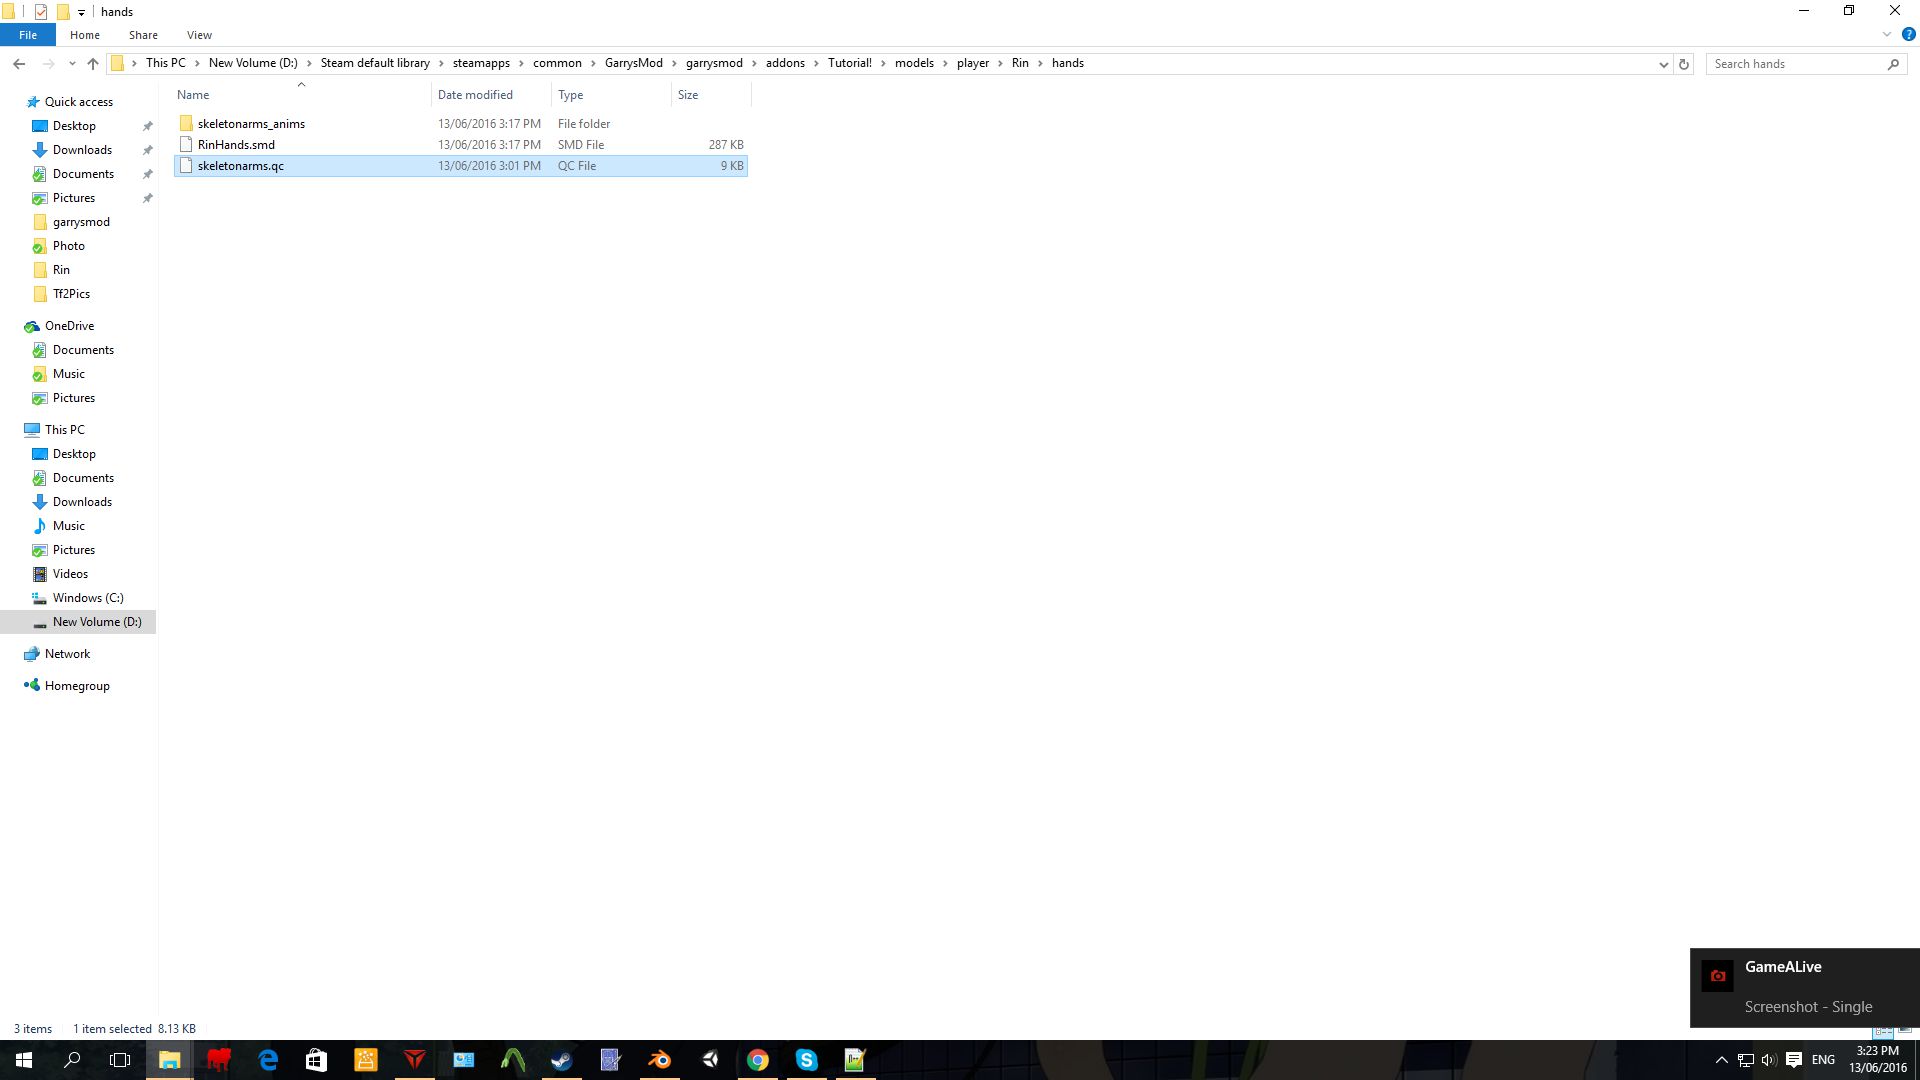
copy and paste all of those files in to your (I'll assume it's called hands) hands folder. Then create a folder called "skeletonarms_anims" and put the "idle.smd" in there. After that you have to edit the QC just like before, the skeletonarms.qc.
The part we care about is:
// Created by Crowbar 0.34.0.0 $ModelName "SkeletonArms.mdl" $BodyGroup "c_SkeletonArms" { studio "skeletonarms_reference.smd"" } $SurfaceProp "flesh" $Contents "solid" $MaxEyeDeflection 90 $CDMaterials "models\weapons\Skeleton\"
yet again, change the $modelname and then the $BodyGroup should have in my case "studio "RinHands.smd".
and the $CDMaterials should be just like before.
Then you should be done!
Here's images on my folder structure:

Compile the models
Ok, the QCs are done and ready to go, so now we need to use Crowbar to compile them.
Download Crowbar and open it, select the option when it makes a sub folder, give the sub folder a unique name, mine is "Rin".
Target the game for Garry's mod, if you can't do it here's a video that'll show you the basics of Crowbar; The Video .
Compile it, and if you did the custom hands then compile them as well.
There you go! Now when they're .mdl files there's only one thing left to do! That'll be to create the lua. So we later can make it to a .gma file!
Lua Editing
Lua is what tells Gmod that this is going to interact with it somehow, our model file, our textures, everything we done so far. But first we need to guide ourselves to (<stamfolder>/steamapps/common/Garr's Mod/garrysmod/addons).
then put our mod folder there, otherwise Garry's Mod won't read it. This is just for testing purposes.
go to your mod folder, go to lua, then autorun.
(<modfolder>/lua/autorun)
then create a notepad file, and save it using Notepad++ as a .lua.
then write these following lines .
player_manager.AddValidModel( "SonicMiku", "models/Player/Sonic/Sonic/mikusonic.mdl" )
But replace the path with your model path. Remember, this time you want to do the path to the .mdl file that you got while compiling.
Where it says "SonicMiku" is the name of the playermodel that you're creating. So in my case I'll just put "Rin" there.
Then you're done with the custom model, now for the custom hands (the following part is only if you're doing custom hands for your model).
------------------------------------------------------------------Custom Hands---------------------------------------------
Add the line:
player_manager.AddValidHands( "Rin", "models/player/Rin/hands/Rin/rinarms.mdl", 0, "00000000" )
Then do exactly the same thing as with the normal model just this time it's the hands .mdl you're looking for, also give it the exact same name as your custom model, so in my case I have to put "Rin" as a name, otherwise the hands won't show up.
-----------------------------------------------------------------------------------------------------------------------------------
this should be working now!
Also do remember to have your folder in the addons folder for Garry's Mod.
Here's how it looks like for me:

Here's my model inside of Gmod:
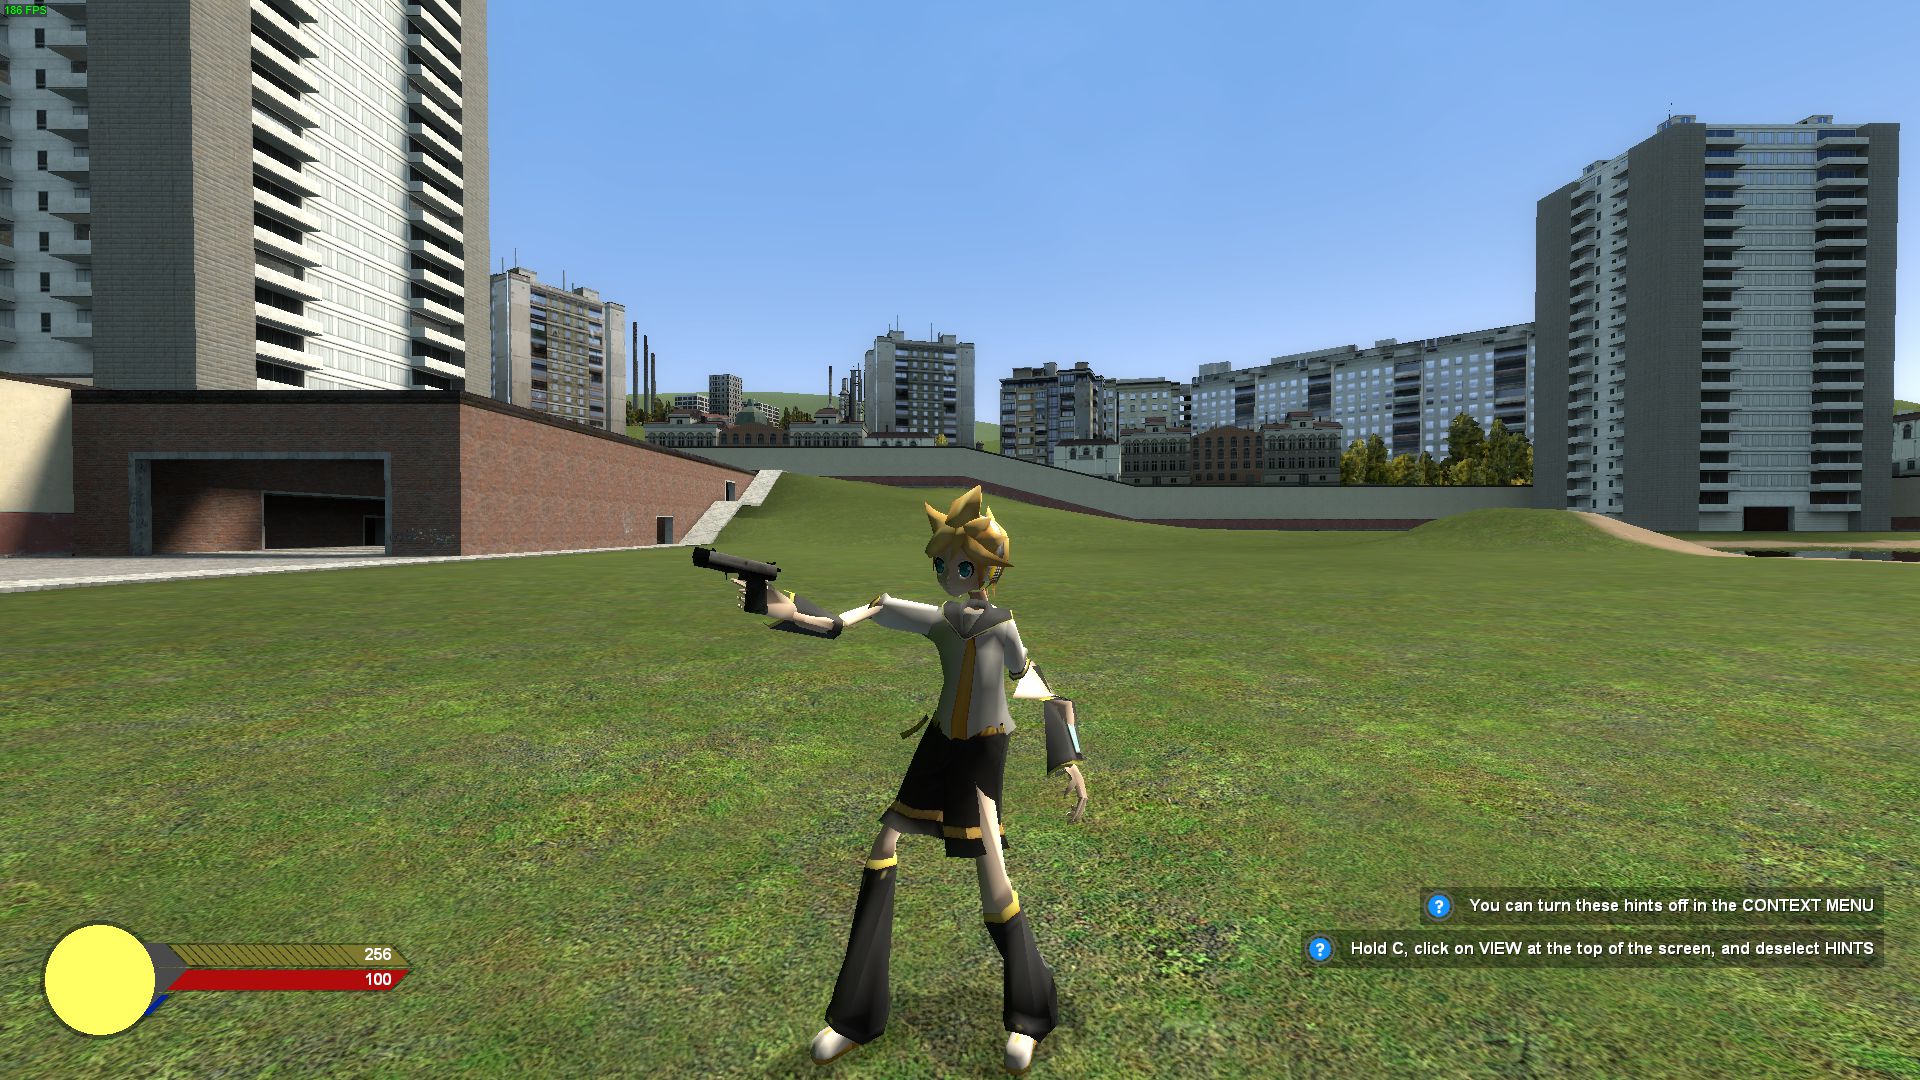
If you're also able to import it to Gmod then you've done everything correctly! Great job man! :3
And sorry if you didn't succeed. It can be very difficult to wrap around the workarounds of the Source Engine, but I'm sure that if you invest the time and the energy needed to accomplish your goal that you'll manage. After all, you're human, and humans are known for being rather adaptive and capable at doing many things. Just keep struggling, and after all, it's not the end of the world to search for answers online or ask in the comment section. :)
.gma Conversion
Now, just the easy part left!
I'll be showing on how to do this trough a youtube video! My mic isn't the best, so I'm sorry for the bad audio, it pitched down the sound on a couple of parts in the video so you couldn't hear what I was saying, it's not only my English. xD
And this was my first video in a long time so therefore I was a bit shy. Youtube was harsh on me too, so I was very eager to just get the video done.
Source: https://steamcommunity.com/sharedfiles/filedetails/?id=702924242
0 Response to "How to Make a Gmod Player Model Easy"
Postar um comentário